Question: I will be servicing a 4” Febco model LF850. Is this unit different from the standard 850 model? What are the repair procedures for the check valves?
Mark:
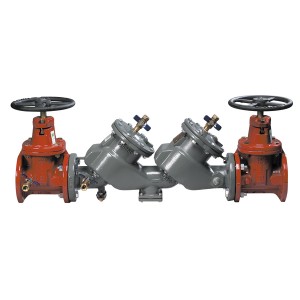
The Febco model LF850 is a lead free double check valve assembly. Production of this series began in 2011. Although it may look similar in outward appearance, the internal components are completely different from the original model 850. It is also important to mention that the internal components for these two models do not interchange. The LF850 utilizes stainless steel check valve components instead of bronze which is used in the original model 850. There are no special tools required to repair this assembly. The check valve covers are sealed with an o-ring and secured by bolts. This model has springs that are contained in a spring module. The spring module is positioned against the check cover and creates a very slight spring load when the cover is removed.
Doug:
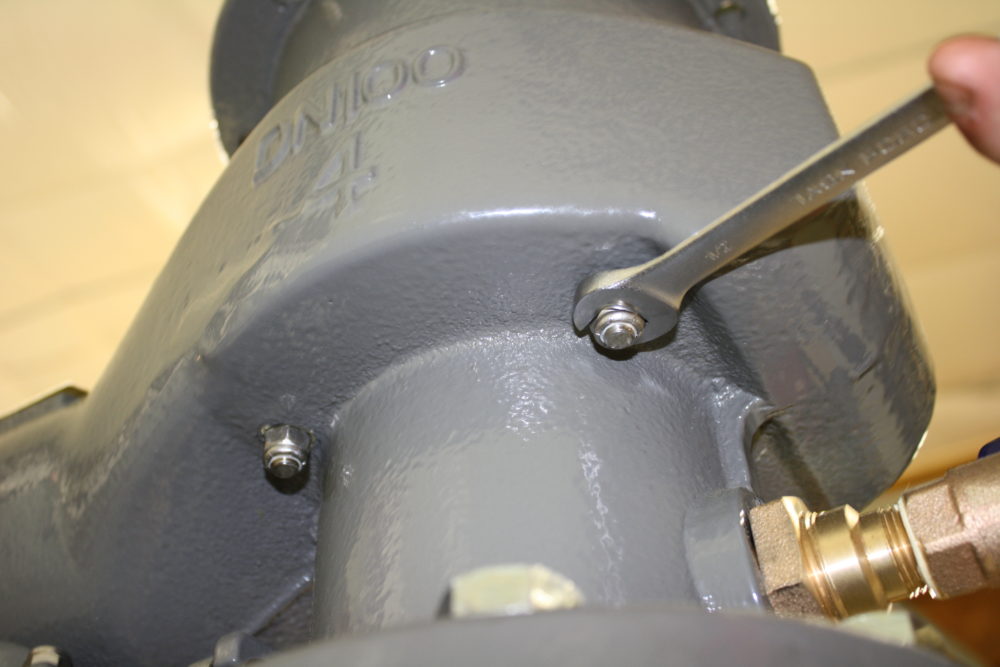
While removing the check valve cover, you will notice that the spring module will fall down against the check valve body. Don’t be alarmed; the unit is not falling apart in front of you. One end of the spring module is held in place by a recess in the lid. Once the cover has been removed, we can work on removing the check valve from the body. The stainless steel check seat assembly is sealed by an o-ring and secured by four threaded studs that mount through the body wall. On the exterior of the check valve body you will notice four 1/2” lock nuts. Once the lock nuts are removed, the seat assembly can be removed from the body along with the check disc, arm assembly, and spring module still attached.
Mark:
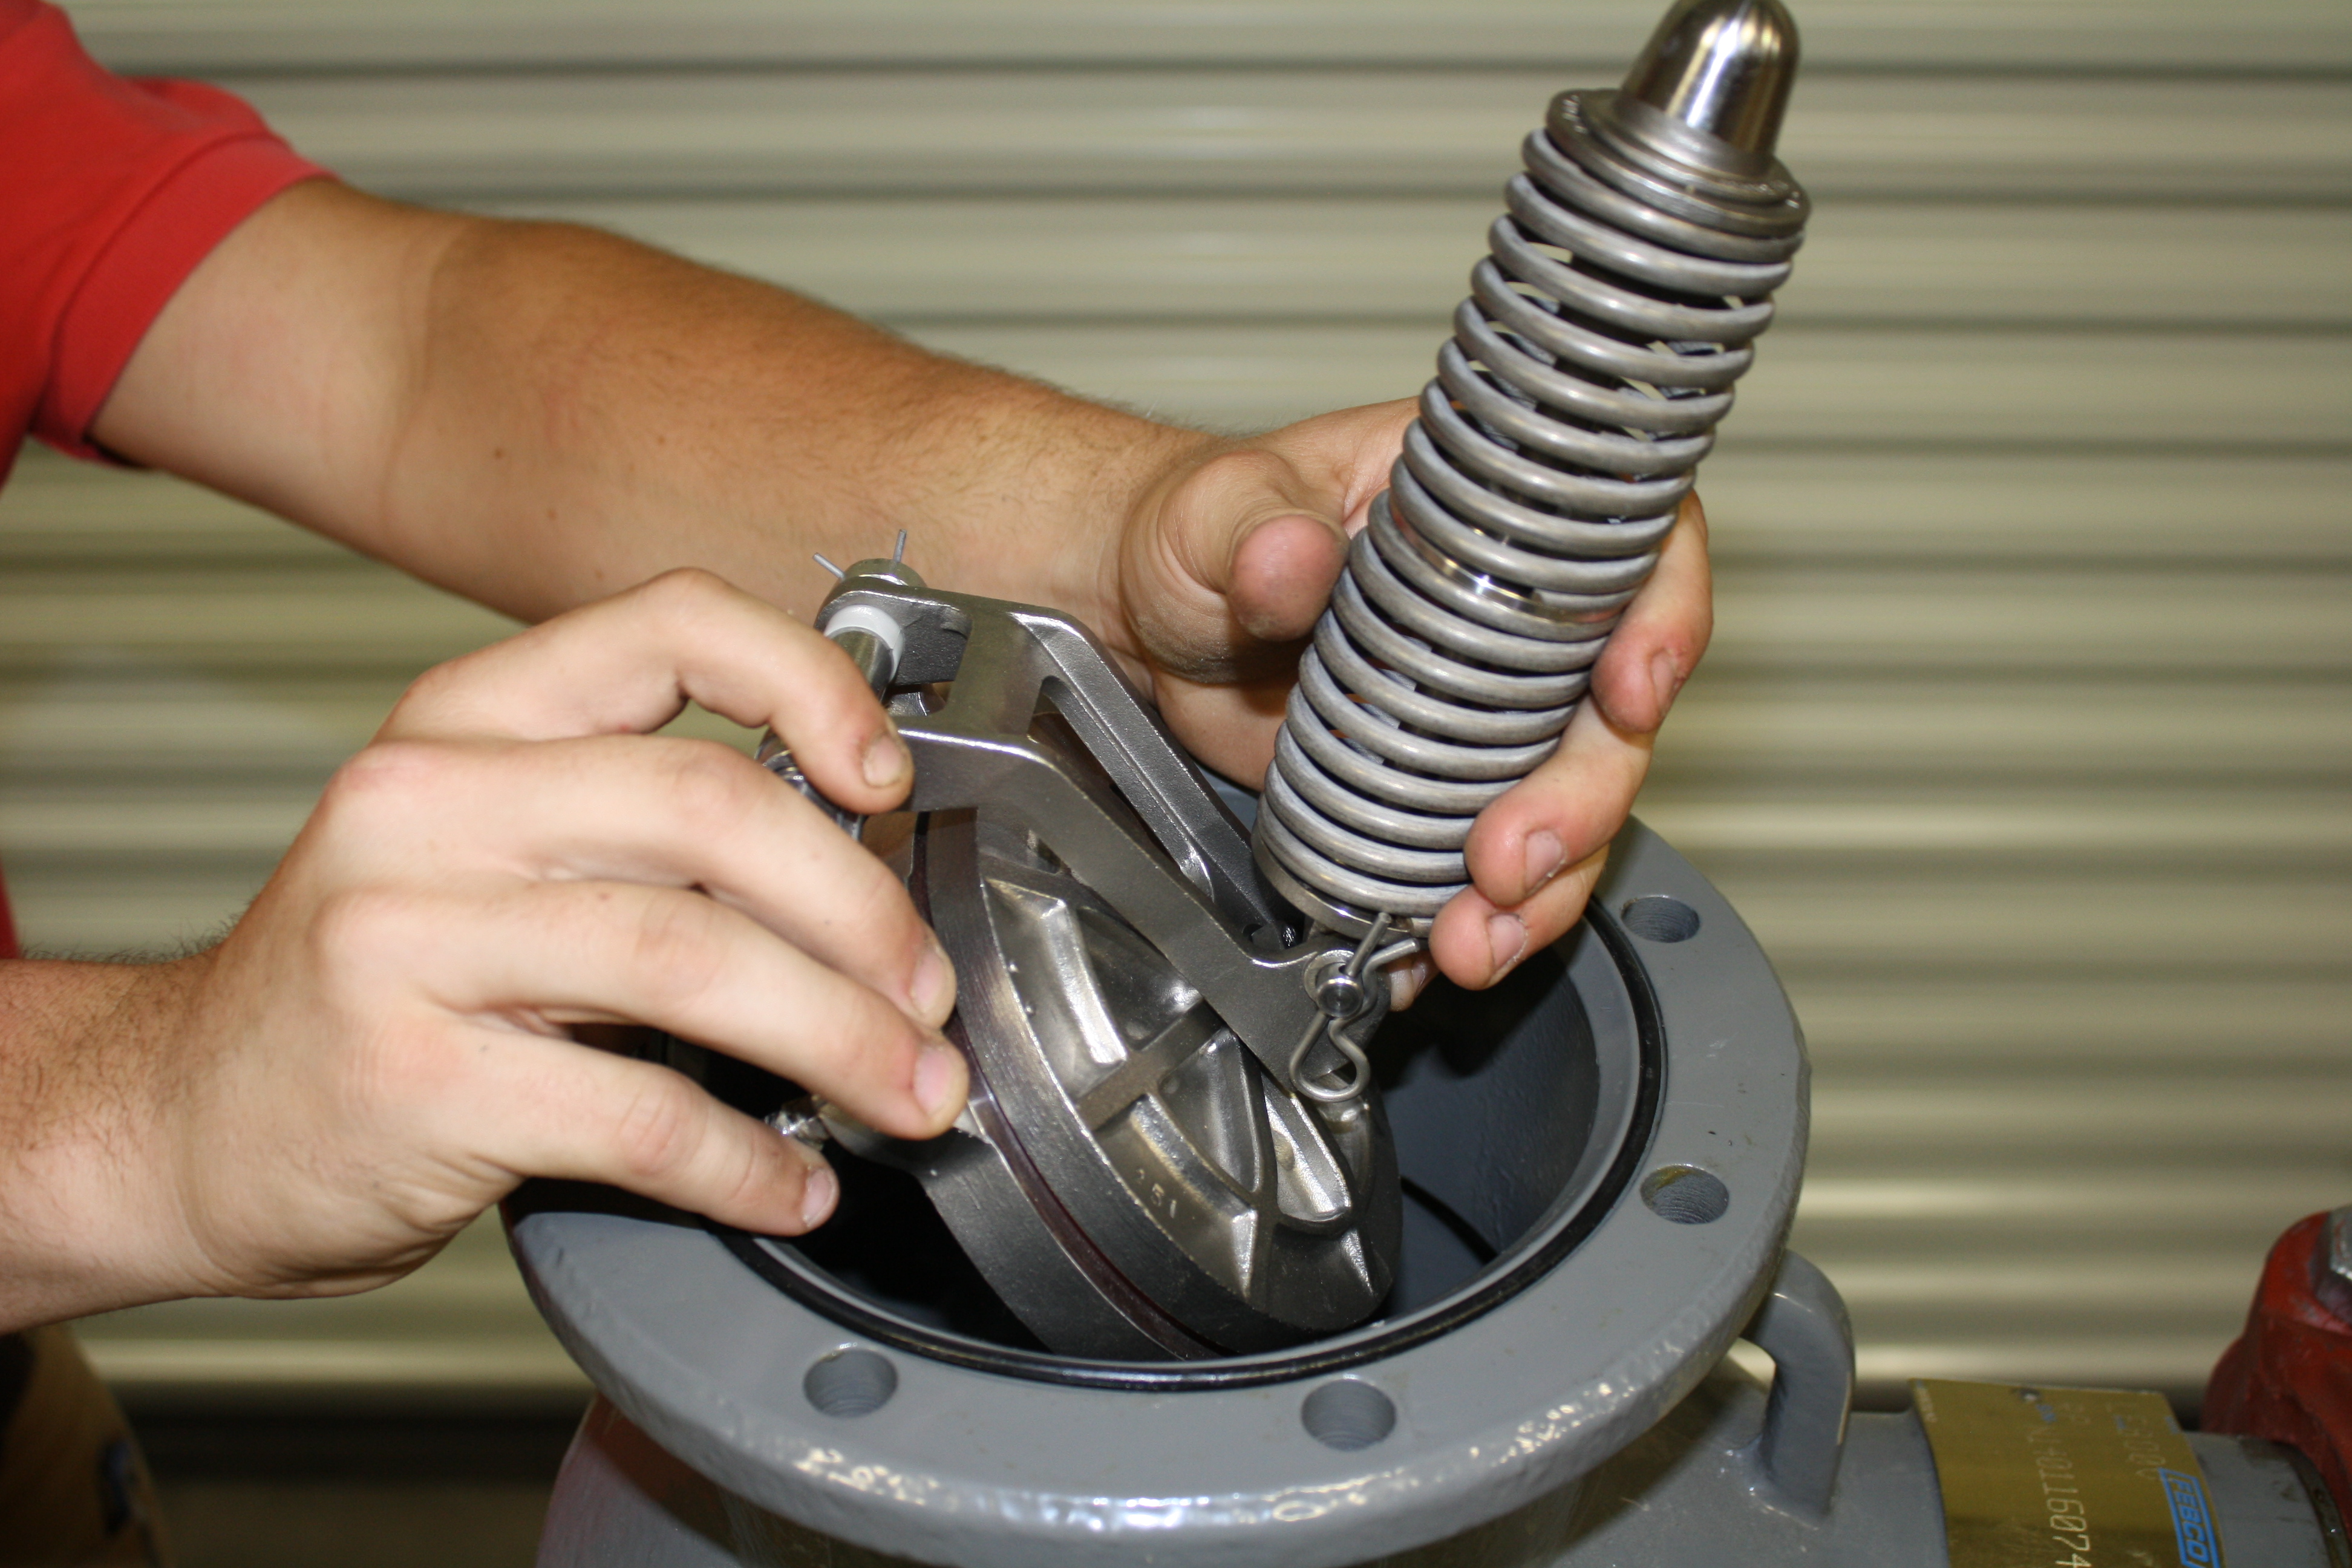
Now that the check assembly is out of the body, we can examine the seat and arm assembly carefully for any damage. Be sure to look for wear on the hinge pin and plastic bushings as well. To make the repair easier, it is a good idea to remove the spring module. The springs are captured, so there is no tension to worry about. The spring module attaches to the arm and disc holder with a hinge pin. Simply remove the retaining clips and hinge pin. Now the check disc holder and arm can lay flat in the fully open position.
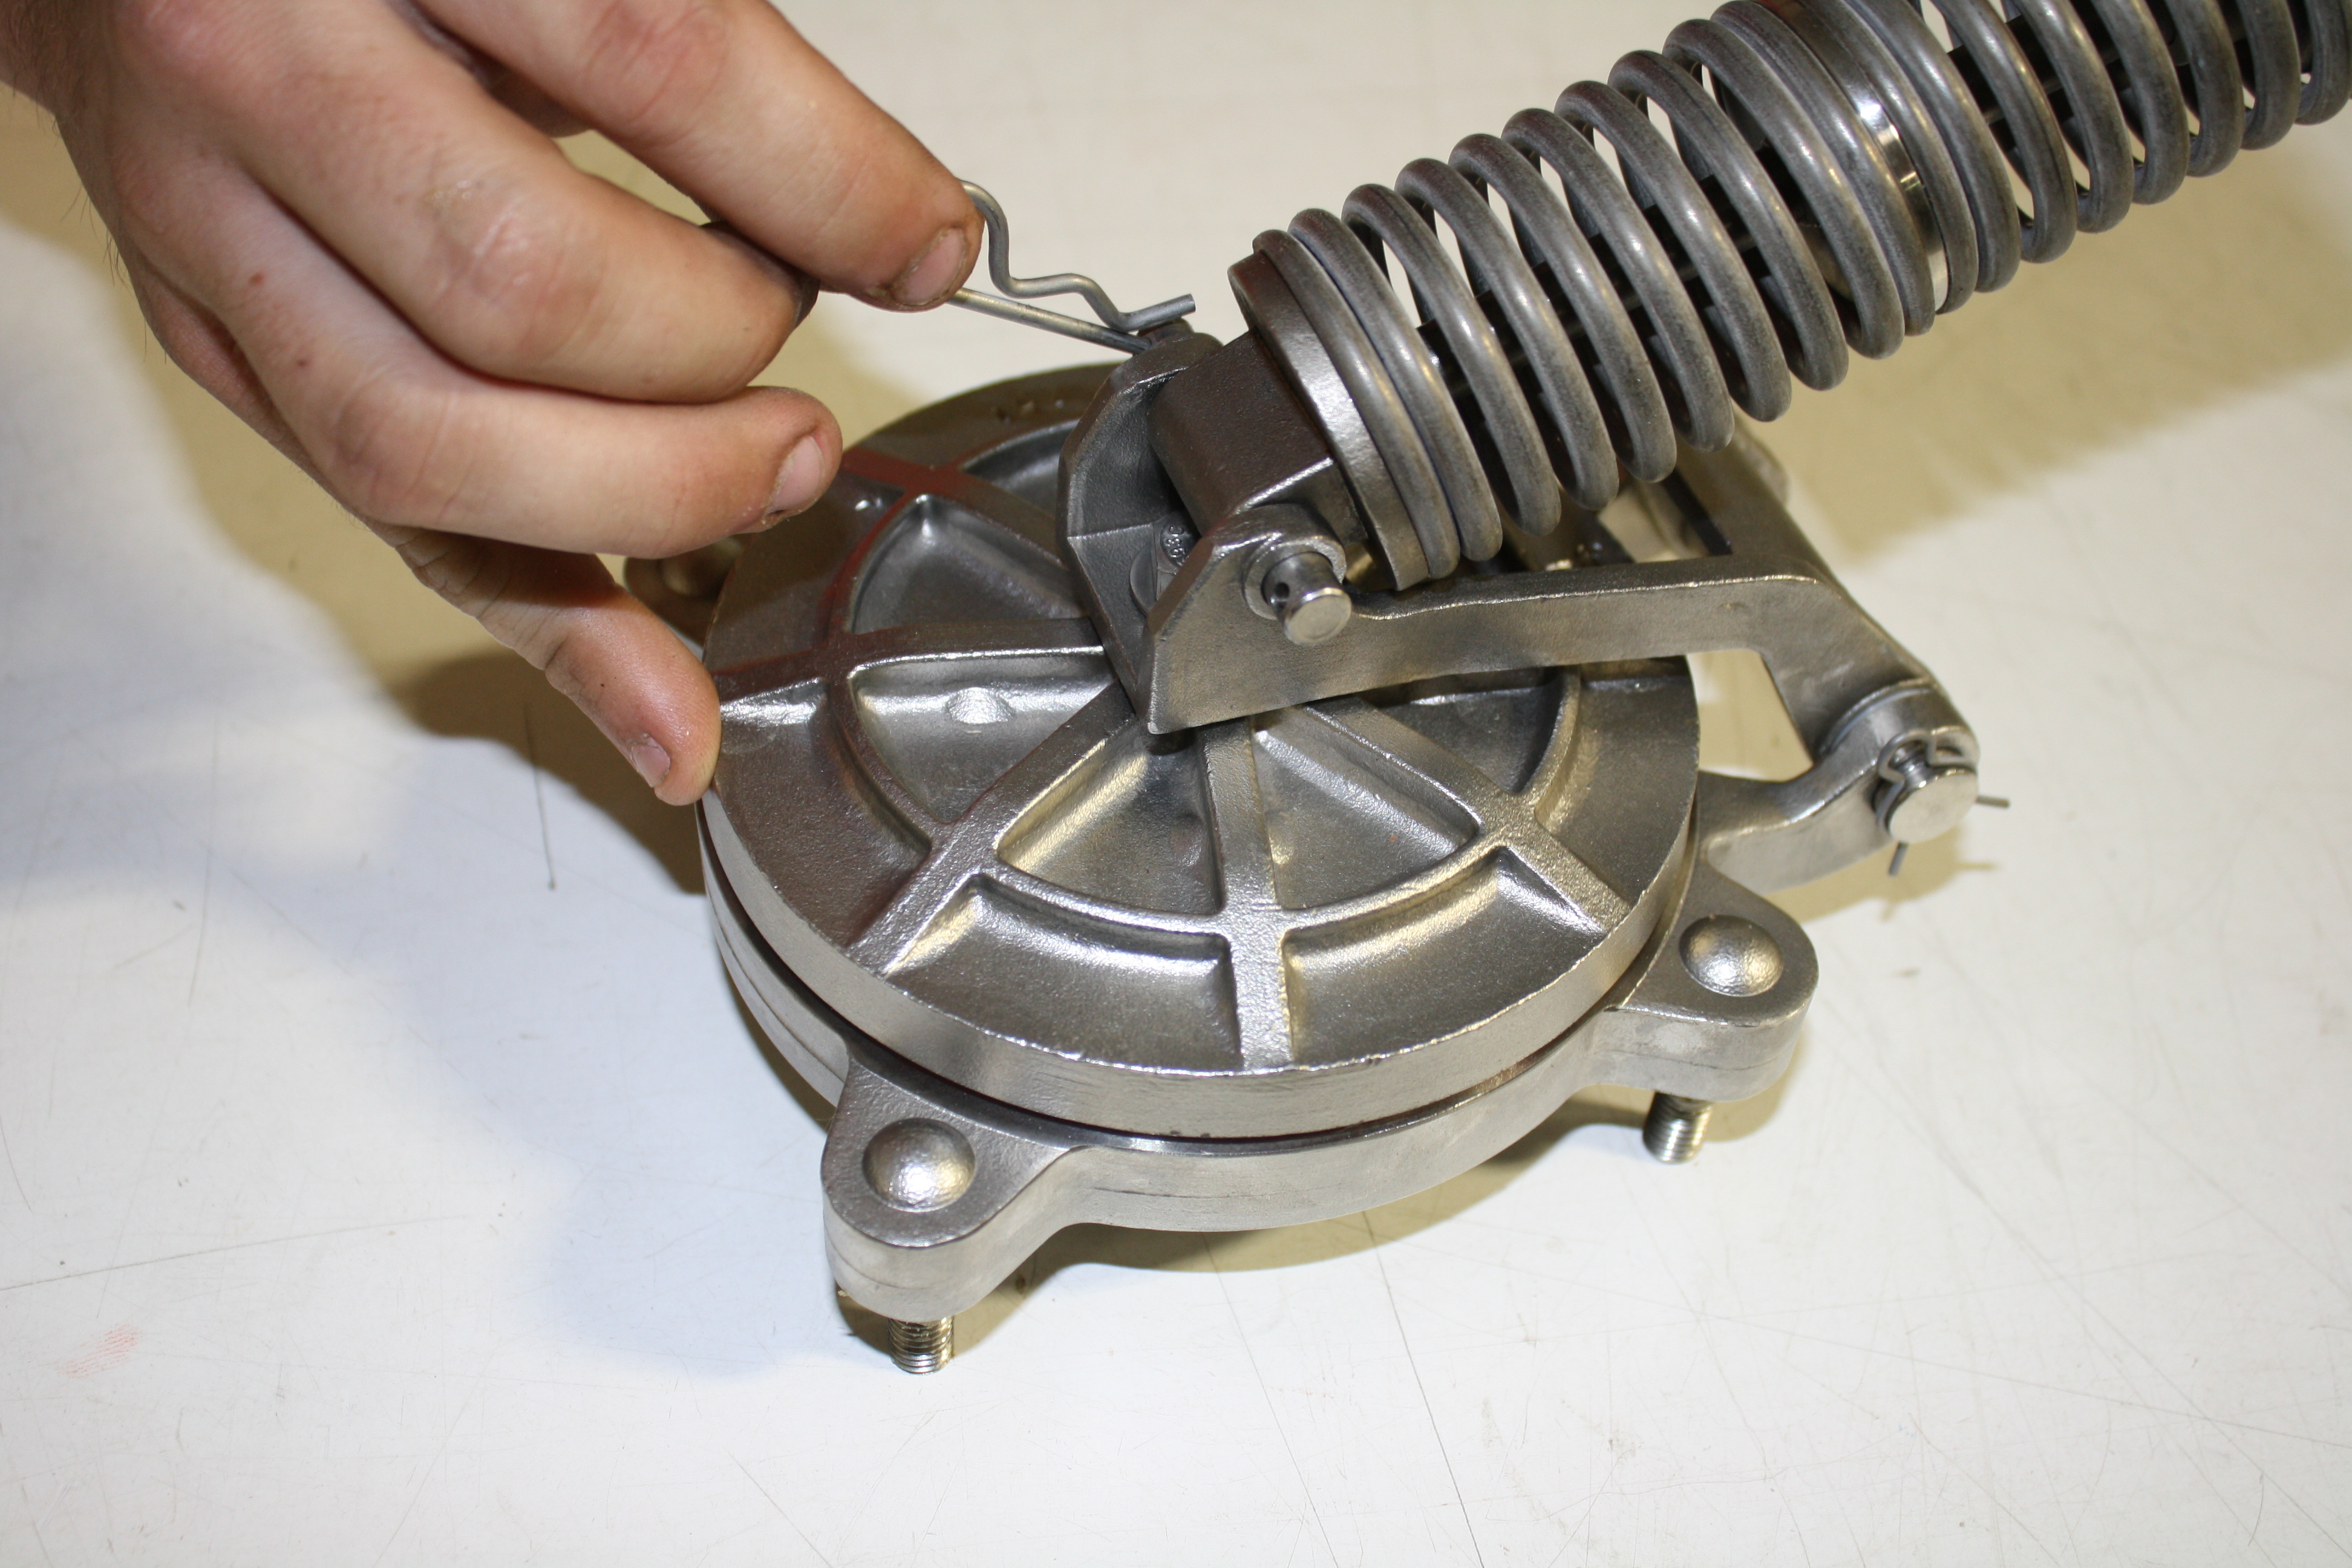
Doug:
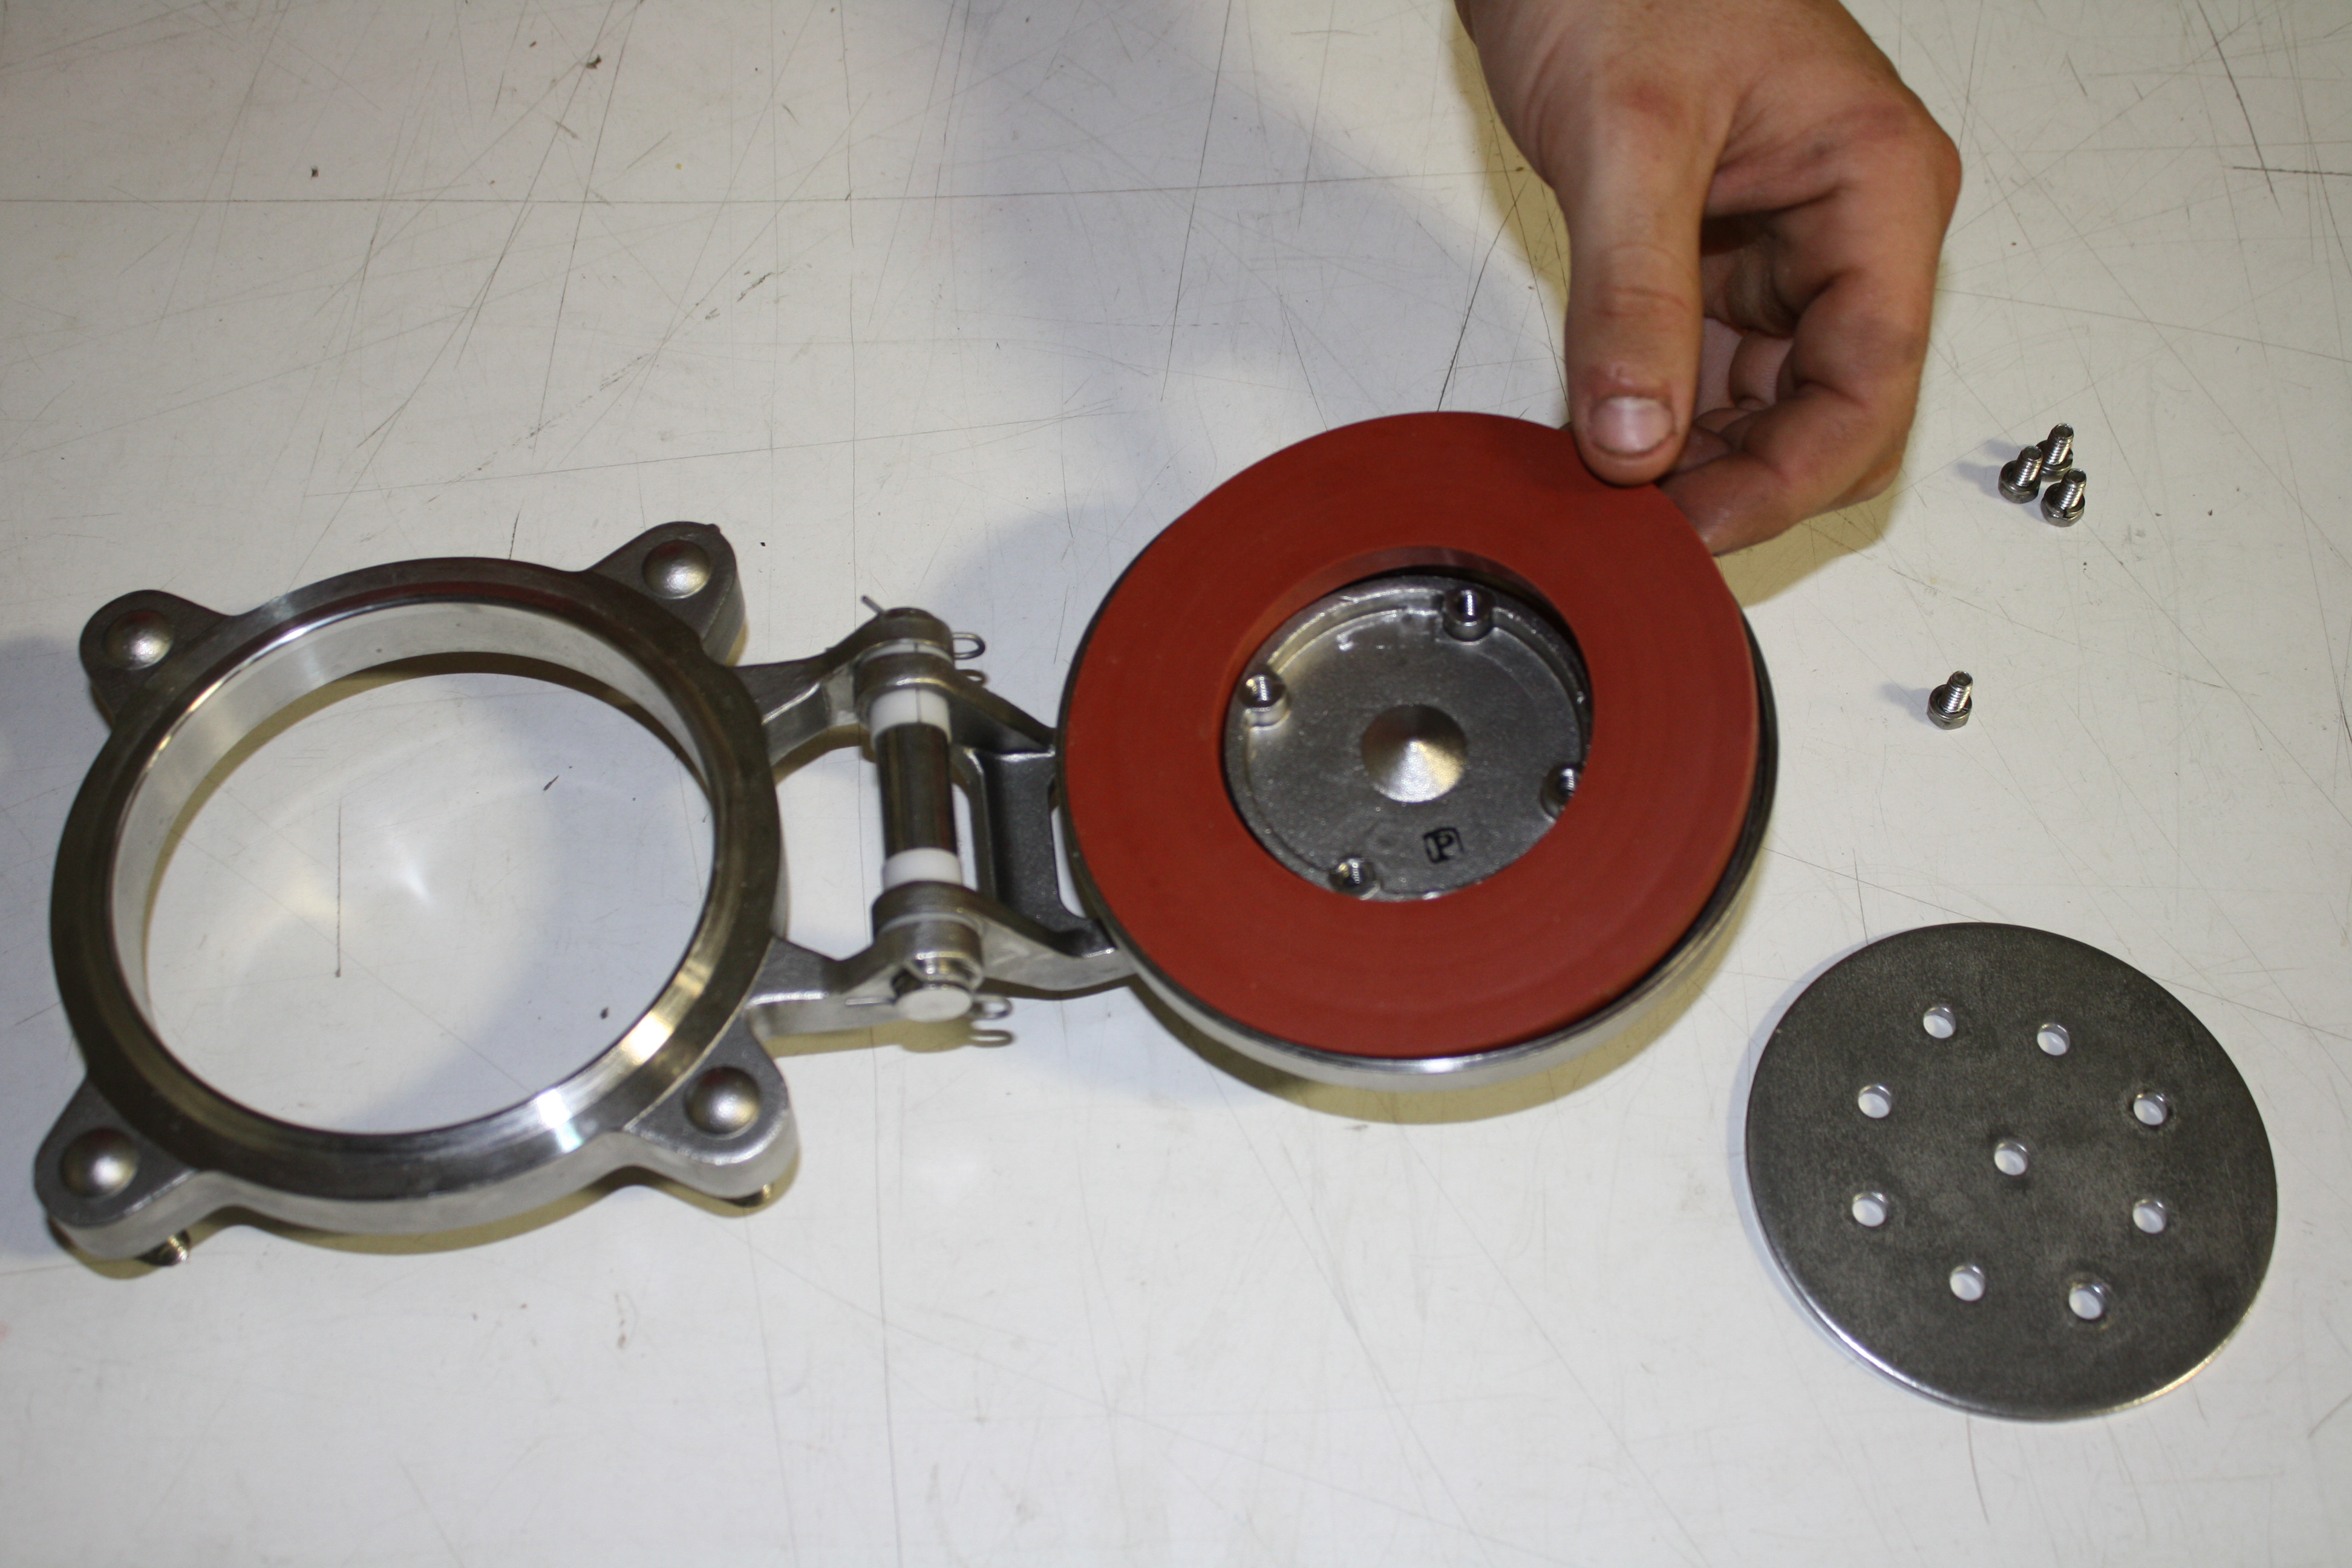
The check disc is secured by a retaining plate and four bolts. The check disc is free once the bolts and retaining plate have been removed. When you reinstall the check valve assembly into the body be sure to tighten the lock nuts on the outside of the body equally so the seat does not warp. It is also important to remember as you reassemble the check cover, the pivot bearing on the spring module will have to be set back into the pivot socket in the cover.
Authors |
|
 Mark Inman |
In our line of work, we field questions from contractors and technicians concerning repairs, installations and general backflow prevention practices. We’d like to share some questions that we receive, as well as our answers. Everyone has different opinions on these subjects and we would like to hear yours.
Contact us with questions and ideas via email at: or mail us at: |
 Doug Taylor |
|


 20 Nov 2018
 Posted by BP Journal